OCW Sew Along Part 3

Cornbread and Beans Quilting Blog

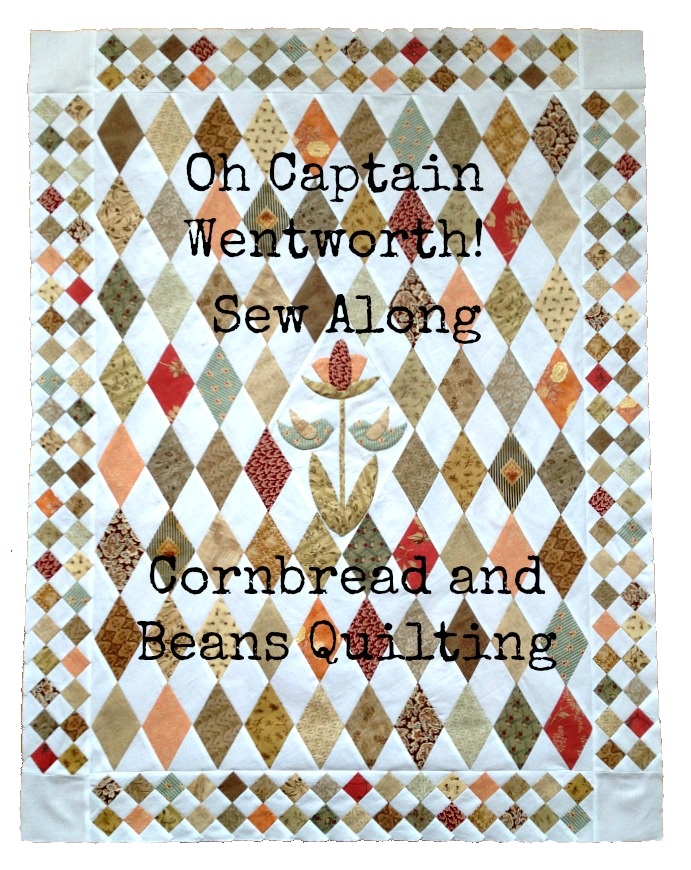
Hi friends! Are you ready to move on?

Let’s trim up the quilt center.

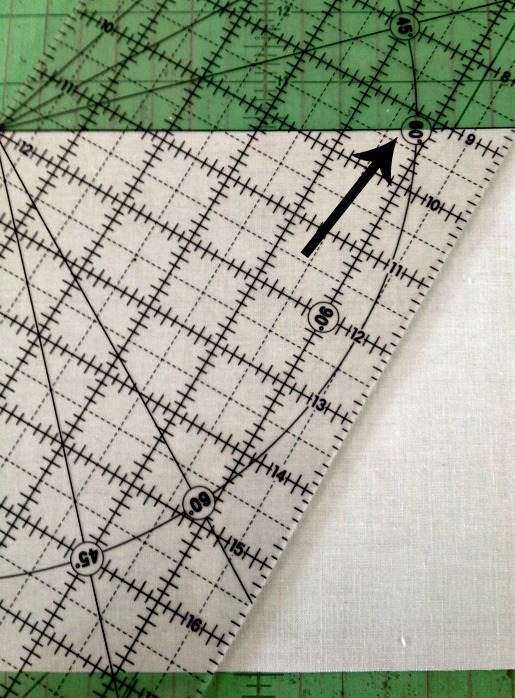
Place your ruler along the edge and make sure that you are leaving a 1/4 inch seam allowance!!

cornbread and beans quilting blog 033

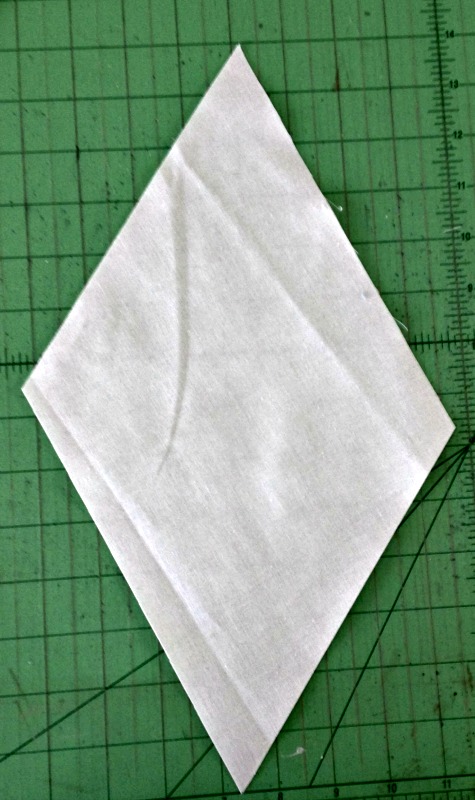
Trim all sides and you should have something that looks like this, ready for the borders.

cornbread and beans quilting blog 035

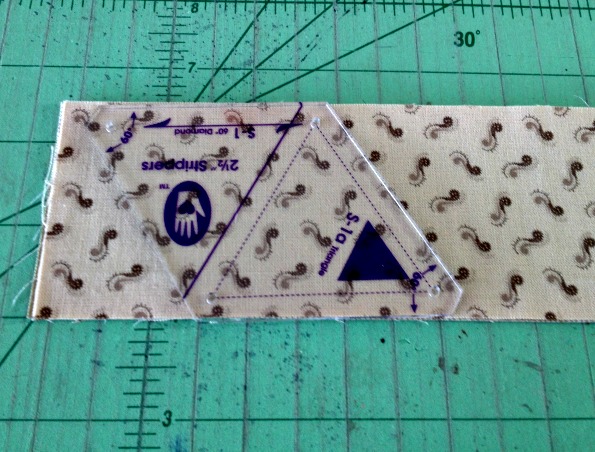
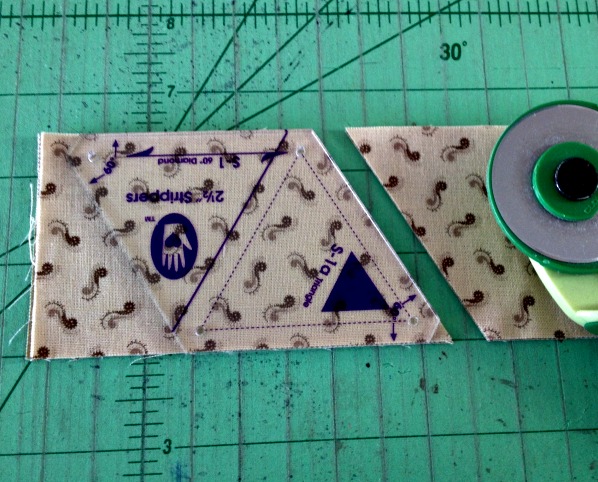
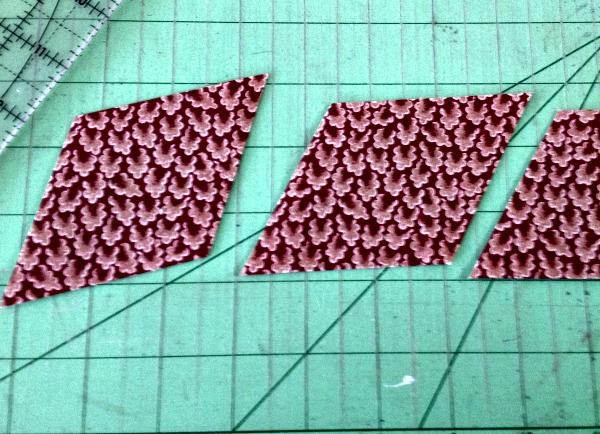
For the borders we are going to use 1 1/2 inch strips to make strip sets.  I cut 1 1/2 inch strips from my various colored fat quarters and then cut those in half so I had about 22 – 11 x 1 1/2 inch colored strips, and then I used 33- 11 x 1 1/2 white strips to make my strip sets.   You can use whatever lengths you want, just make sure to have enough variety and when you are done making the strips sets we will cut them into 1 1/2 inch units.  You will need a total of 72 units.

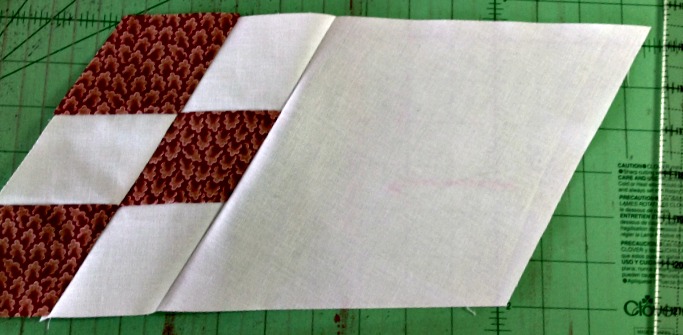
Sew your 1 1/2 inch strips sets together like this:  white/color/white/color/white. Pressing toward the darker fabric.

cornbread and beans quilting blog 036

When you have them all sewn up, cut them into 1 1/2 inch units. Again you need a total of 72.

cornbread and beans quilting blog 037

We will sew them together in a “stair-step fashion.”

cornbread and beans quilting blog 038

Keep sewing until you have 2-  15 units sewn together for the top and bottom of the quilt and 2-  21 units together for the sides.

cornbread and beans quilting blog 041

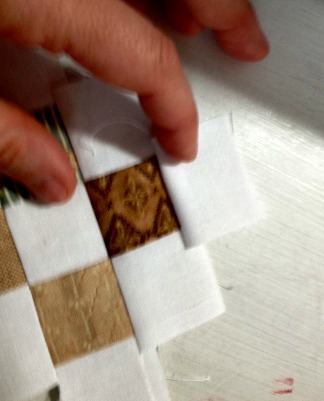
On each end you will sew a 3 unit piece.  White/color/white.  You can accomplish this by either making another strip set and cutting it into 1 1/2 inch units.  Or if you have left over 1 1/2 units from the above steps just seam rip off the bottom two squares.

cornbread and beans quilting blog 001

Add a 3 square unit onto each end.

cornbread and beans quilting blog 002

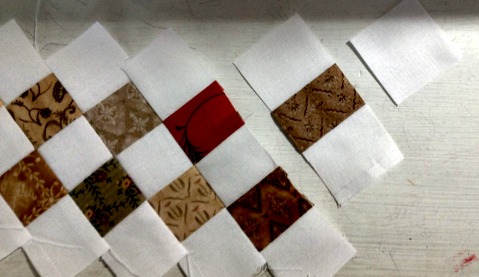
Then the final step is to add a 1 1/2 inch white square onto each end.

cornbread and beans quilting blog 005

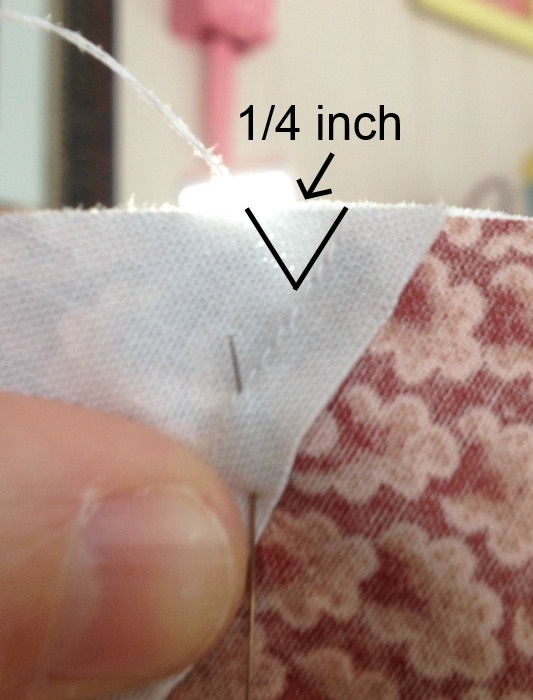
Now lets trim the borders.  Lay your ruler along the top, making sure again to leave 1/4 inch.

cornbread and beans quilting blog 045

Trim the sides in the same way.

cornbread and beans quilting blog 047

Sew the top and bottom borders onto your quilt center.

For the side borders you will need to cut 4- 3 1/2 inch squares of white and add them to each side.  Sew these to your sides and you are done piecing!!

cornbread and beans quilting blog 008

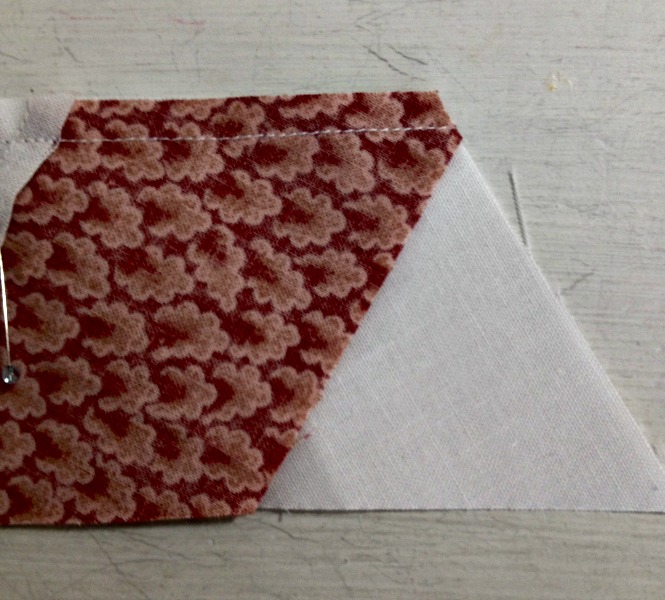
** this picture shows my top and bottom border not trimmed, but yours will already be trimmed.

I’ll post a PDF of the applique shapes for you to print out in the next couple of days.  I’m in the middle of a major bedroom redo and didn’t have a chance to scan it yet, but I wanted to at least get these borders up for you in case you were ready to get going.

cornbread and beans quilting blog 019

Maybe you don’t even want to use the applique shapes I did.  Maybe you would like a monogram letter of your last name?  Or maybe you would like a simple flower, or basket? Some embroidery would look cute too!  The sky’s the limit right? =)

Thanks for sewing along!

Later gators,

Melissa

 Edited to add the pdf applique

HERE

oh capatain wentwork applique

OCW Sew Along part 2

Cornbread and Beans Quilting Blog

Let’s cut out the center diamond. It is cut a little bigger than you need because 1. I couldn’t figure out how big to cut it and 2. I’m too lazy to figure it out since this isn’t a pattern for sale.

Soooo this is how I did it. You might be smarter than me and know how to figure it out a better way.

Cut a 6 3/4 inch strip from your white fabric. Then line up your 60 degree ruler mark along the top.

cornbread and beans blog 004

Make your cut on the right hand side.

cornbread and beans blog 005

Now move your ruler over to the 6 3/4 inch mark along the left hand side and the 60 degree mark along the top.

cornbread and beans blog 007

Make your cut along the right hand side.

And that is your center diamond. We will trim it down later when we join the rows.

cornbread and beans blog 012

Okay Lets Make The Rows

You should have your project laid out into rows, and we’ll be sewing the diamonds together into diagonal rows. The first and last row do not need to be joined to anything, as it is just one diamond.

ocw sew along

So starting with the second row place your diamonds right sides together and sew using 1/4 inch.  Always pressing toward the darker fabric.

If you used the 2 1/2 stripper tool it’s easy to see where to line up.

cornbread and beans quilting blog 018

If you cut diamonds with your regular ruler you are going to have to do a little more work.. Make sure your diamond tips are overlapping by 1/4 inch on both sides.

cornbread and beans blog 013

Lets Sew The Rows Together

Once you have all of your rows put together we will then join the rows.

 Join rows 1-8 together

rows 9-11 together

rows 12 – 14 together

and rows 15 -22 together.

Tips for joining the rows:

It’s not like sewing squares together as the seams don’t butt up.  Instead you have to make little V’s that span a 1/4 inch along the top of the V.

Start by lining up your end, if you have the blunt ends from using the 2 1/2 inch stripper ruler you just line it up.

cornbread and beans blog 020

If you don’t have the blunt end remember to let your diamond tip overhang by 1/4 inch.

cornbread and beans blog 021

Since we pressed toward the darker fabric we have two different versions of lining up,

One will look like this, all the seams will make a v and should be 1/4 inch across it.

Untitled

And the next seam will look like this, I tried to take a picture up against the light so you could see the v it makes.

OCW 3

Be patient with yourself, and pin, pin, pin. Don’t worry it if isn’t perfect, no one likes perfect people. LOL

After All The Rows Are Together

Now we’re ready to assemble the center. Pick up your joined rows 9-11 and sew it to your center diamond. (these are not the actual rows just demo’s I made up because I forgot to take pictures the first time)

cornbread and beans blog 025

Join it at the bottom and don’t forget to leave the 1/4 hangover.

cornbread and beans blog 027

After you press open, you can then square it up by cutting off the extra with your ruler and rotary cutter.

cornbread and beans blog 029

Once you’ve trimmed you can then add your joined rows12-14 to the other side.

cornbread and beans blog 031

Continue joining until it’s all put together.

You should have something that looks like this:

ocw4

Okay, I’ll be back next week for borders and the applique.

Later gators!

Melissa

OCW Sew Along

Cornbread and Beans Quilting Blog

I finished the top for our sew along today!!  It isn’t quilted or bound yet, but I will work on that while you guys are cutting your diamonds. I think it turned out rather Spring-y, which I could really use about now. (Grin)

cornbread and beans quilting blog 019

I did have enough color/print diamonds and strips cut for 2 kits.  You will still need to purchase the white fabric and cut the diamonds, strips, binding, and backing from the white yourself. If you would like one, they are $15.00 plus $2.50 for shipping.

cornbread and beans quilting blog 021SOLD OUT

___________________________________________________ Here are your cutting instructions for today!

You’ll need a total of

**76 Colored/Print diamonds

**94 white diamonds

From your various Colored/Print Scraps cut 2 1/2 inch strips. You can stack a few together if you are comfortable, and your rotarty cutter is sharp enough.   I cut diamonds in stacks of 4 strips at a time.

Next take your 2 1/2 inch striper tool labeled S1A and lay it on the end of your strip.

cornbread and beans quilting blog 012

Make your first cut along the right hand side.

cornbread and beans quilting blog 013

Now flip that stack so that the uncut side is on the right and rotary cut on the right again, also cutting off the squared off tips.

cornbread and beans quilting blog 014

You can continue down the length of your strip only  having to make the cut on one side.

If you are using your regular ruler you will lay your strips out and place the 60 degree line along the top of your strips.

002

Make your first cut, and discard that little scrap.

003

Now move your ruler along, keeping the 60 degree line along the top and measuring over 2 1/2 inches, then make your second cut.

004

Keep cutting the rest of your strip using the 2 1/2 inch marker on your ruler and lining up the 60 degree line along the top.

006

Do the same with 2 1/2 inch strips of the White fabric, until you have a pile of 76 colored/print diamonds and 94 white diamonds.

Here I am cutting, and cutting, and cutting….LOL

PicMonkey Collage

Now is a good time to download a Jane Austen novel to listen to while you cut. =)

Once you are done you can lay it out if you would like.

cornbread and beans quilting blog 016

I’ll be back next week with the center diamond and piecing instructions!

Later Gators!

Melissa

Oh, Captain Wentworth! A free pattern and sew along

I’ve been working on something fun the last few days for us to sew together ! It is my interpretation of Jane Austen’s famous diamond quilt, pieced by Jane, her mother, and sister.

2009_1024Quiltysecrets1118

There is a wonderful article about the quilt written by quilt historian Barbara Brackman here CLICK

Like many before me, I’m an avid Jane Austen fan, and have read  all of her  books and watched all the PBS films over and over.  My favorite Austen man is Captain Wentworth from Persuasion ….ahhhh so dreamy.  So that’s what I’m calling this quilt.

I’m not finished designing it yet but I wanted to give you a heads up to prepare in case you want to sew along.

Here’s the quilt so far:

cornbread and beans quilting blog 043

It will finish somewhere around 30 x 50, so it will make a nice little wall hanging.  I’m going to add some applique in the center triangle, and finish the pieced border, then I’ll start posting the directions here on the blog.

I cut way to0 many triangles so I will probably offer a few kits if you would like to use the same fabric as I did.

Okay so what do we need?

1. VERY HELPFUL, but not mandatory is the Marti Michell 2 1/2 inch stripper template.

41EqIcfCCiL._SY300_If you don’t have this, and don’t want to purchase this handy dandy tool, you can still use your regular ruler with the 60 degree angle mark, but the tool will make piecing the quilt a lot easier because the template ruler has squared off points that help you line up your triangles.

2.  About 1 and 1/2 yards of white cotton

3. A variety of 2 1/2 inch strips of your color choice cotton prints for center of quilt, and 1 1/2 inch strips for the border.

I hope you’ll join me!

Later gators,

Melissa