Hi there friends!
We’re almost done with our Parade Day quilt!!
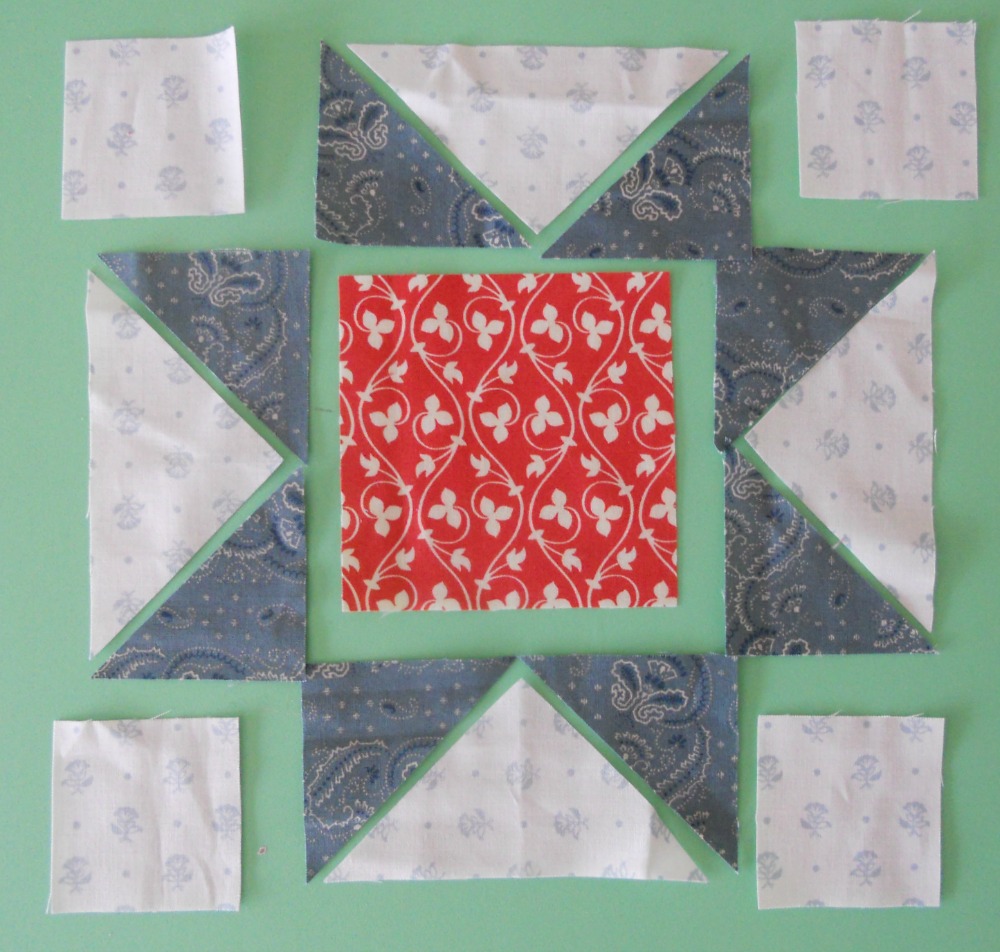
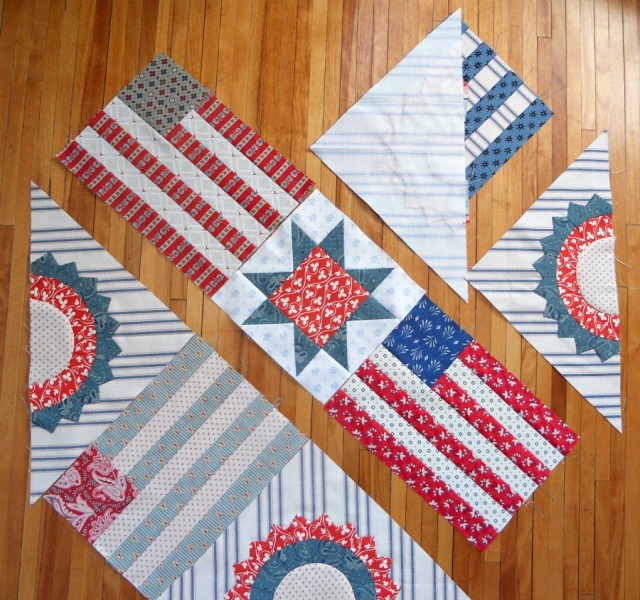
Today we are going to cut our setting triangles, corner triangles, and applique our buntings.
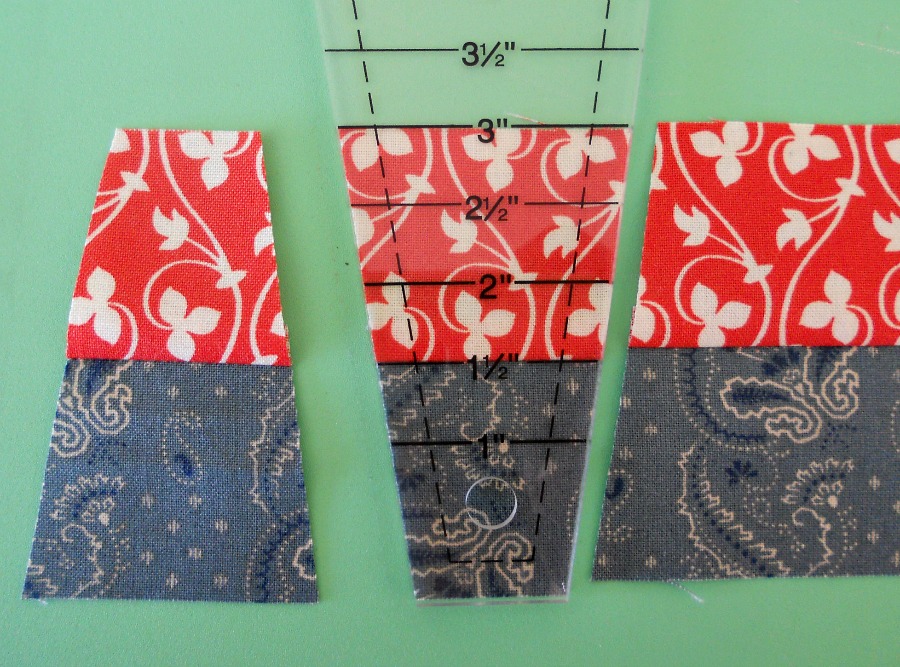
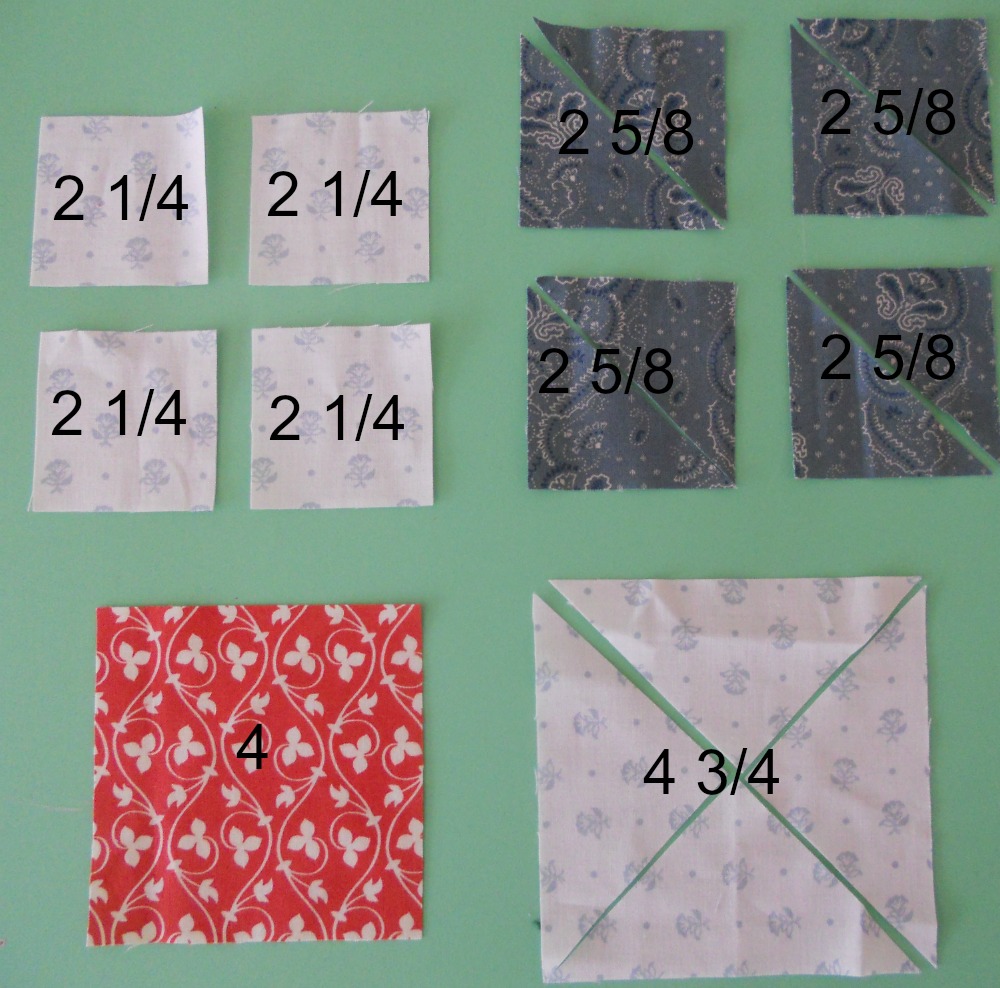
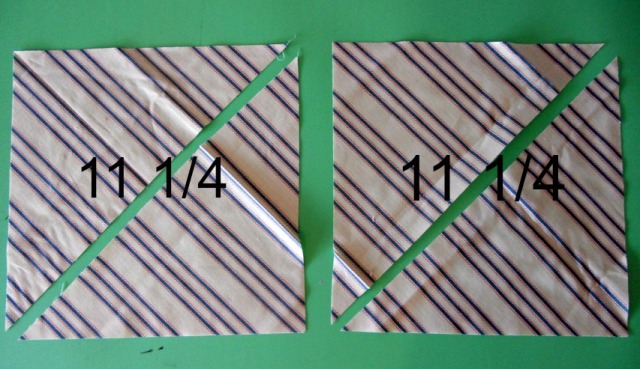
Cutting for setting triangles.
Cut 2 squares at 11 1/4 inches cut once on the diagonal.
For each setting triangle finger press in half ,
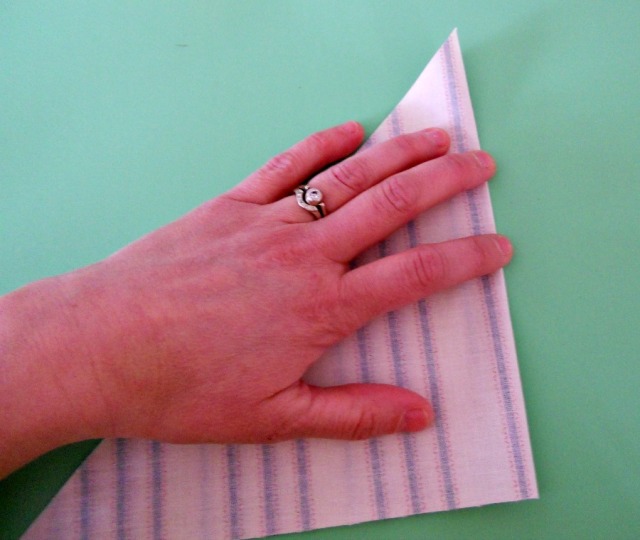
then center the bunting in the middle, pin and applique with your favorite method (machine stitch, blanket stitch, or hand applique.)
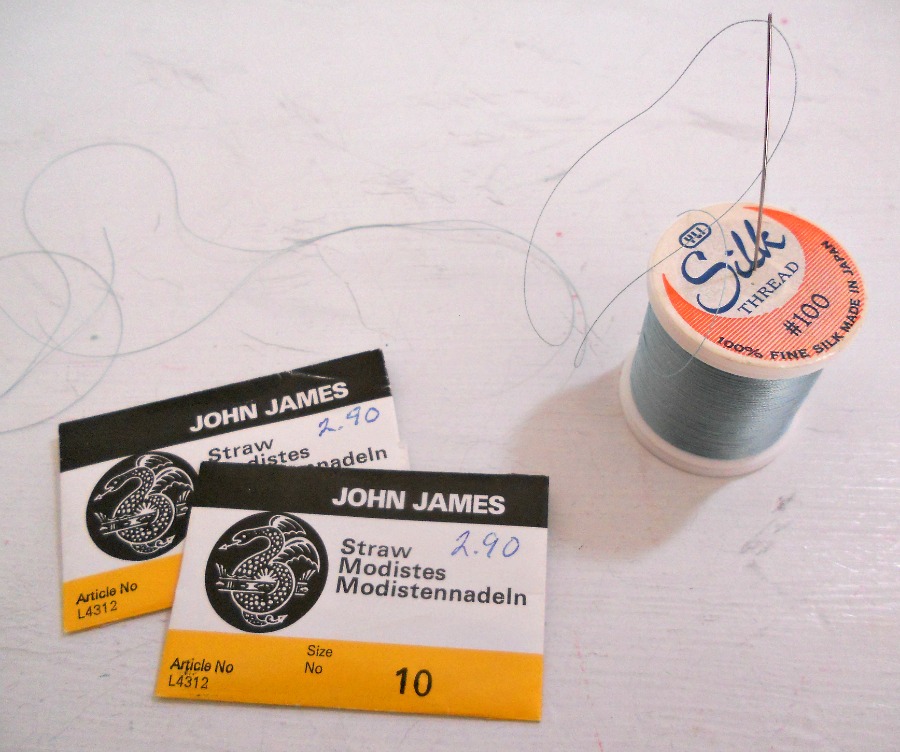
I actually love to hand applique and encourage you to try it if you haven’t done it. I always think of it just like hand sewing the back of your binding on. It’s that simple.
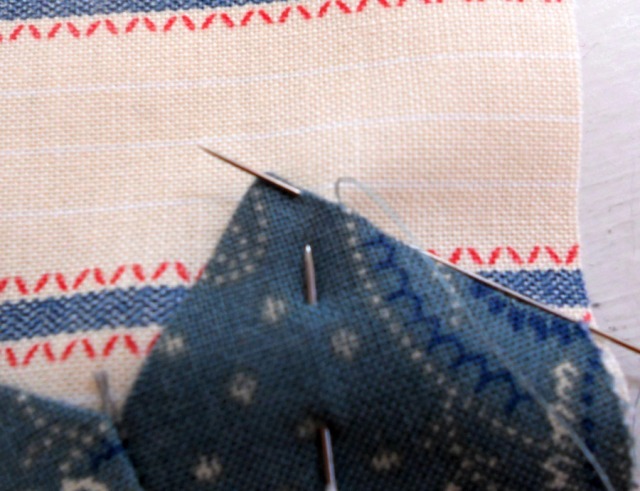
My friend Jane, who taught me how to hand applique gave me these tips when I started: use YLI silk thread because it just melts right in like butter, and use straw needles (11, or 10.)

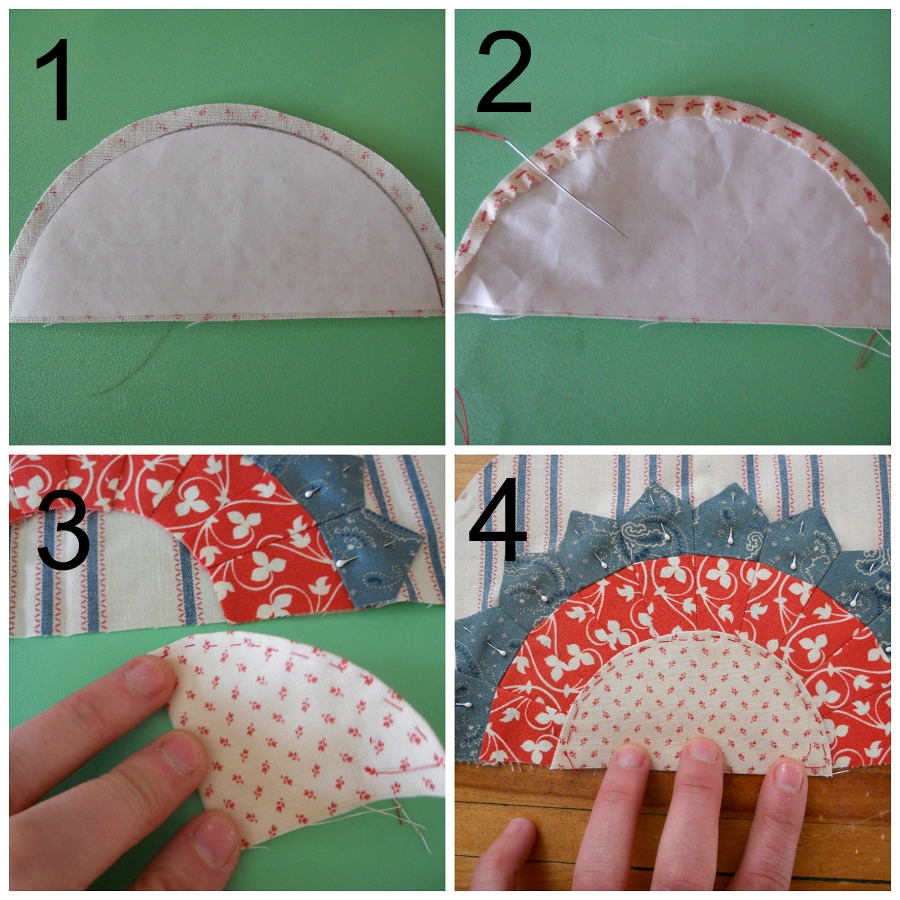
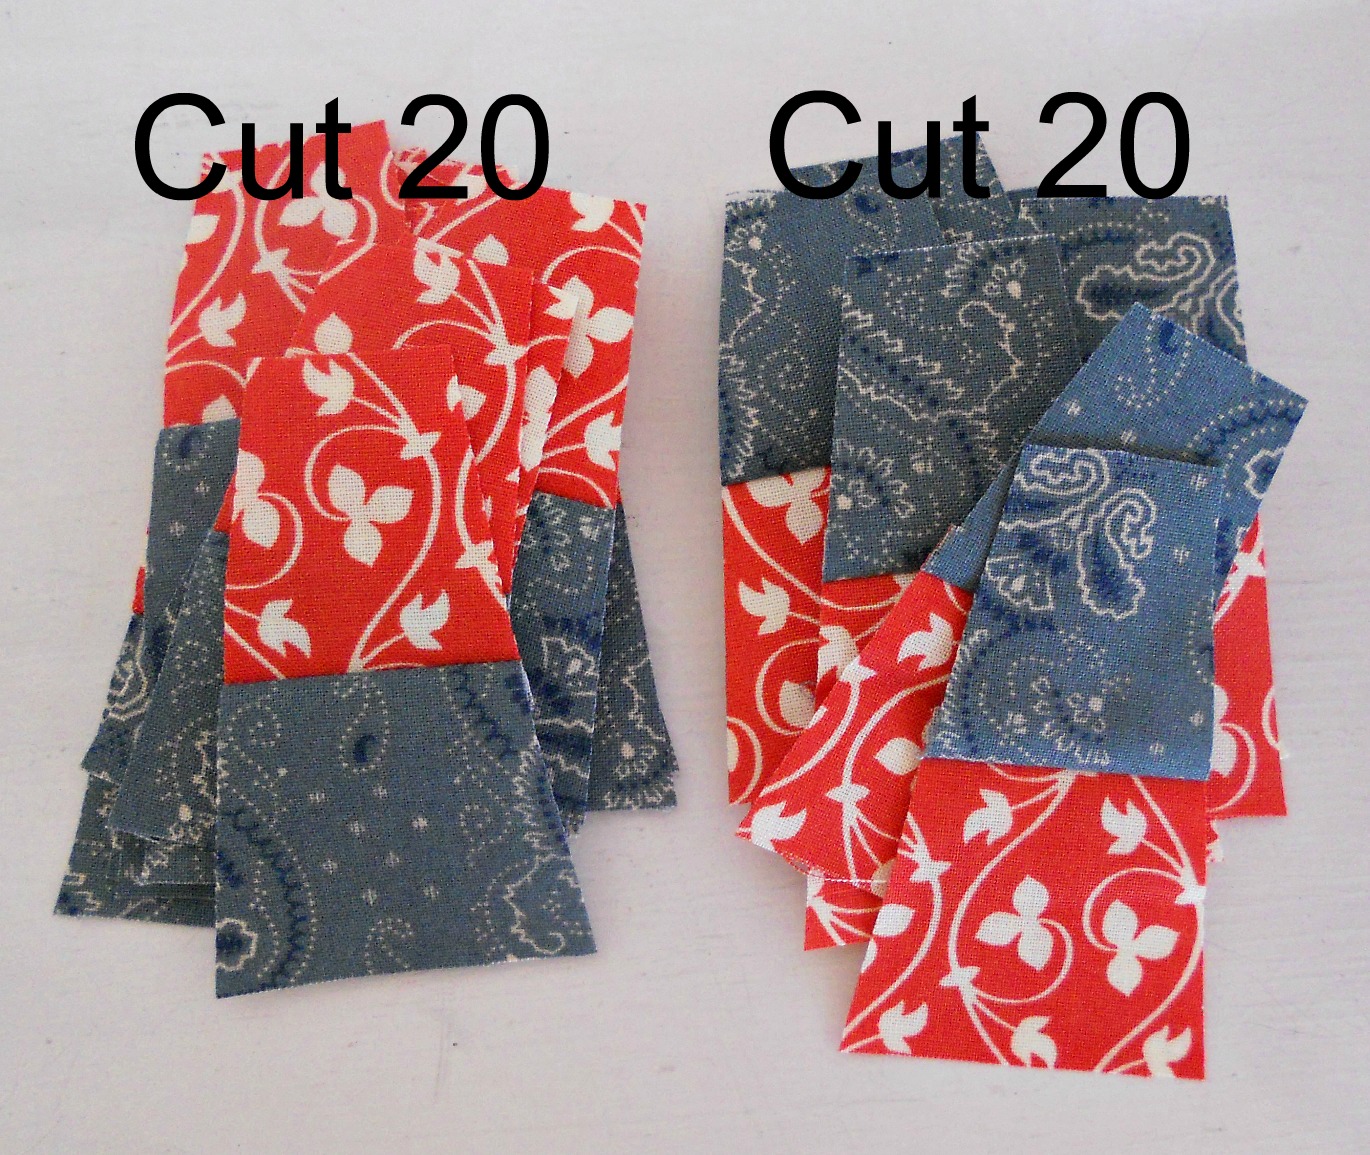
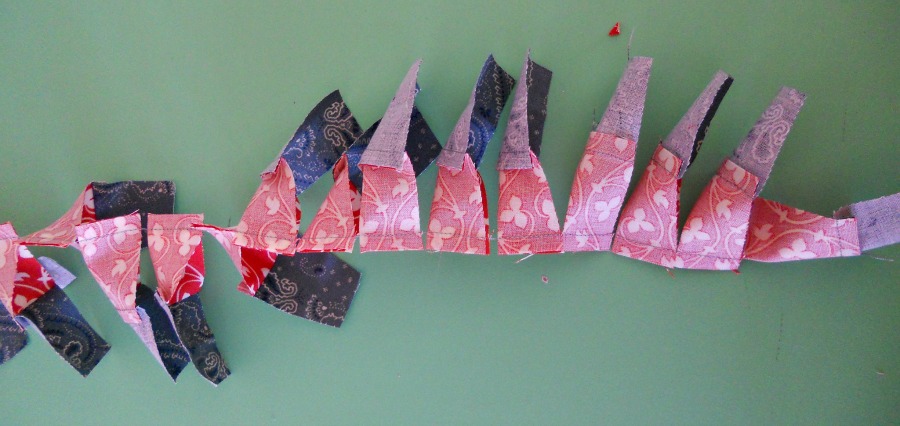
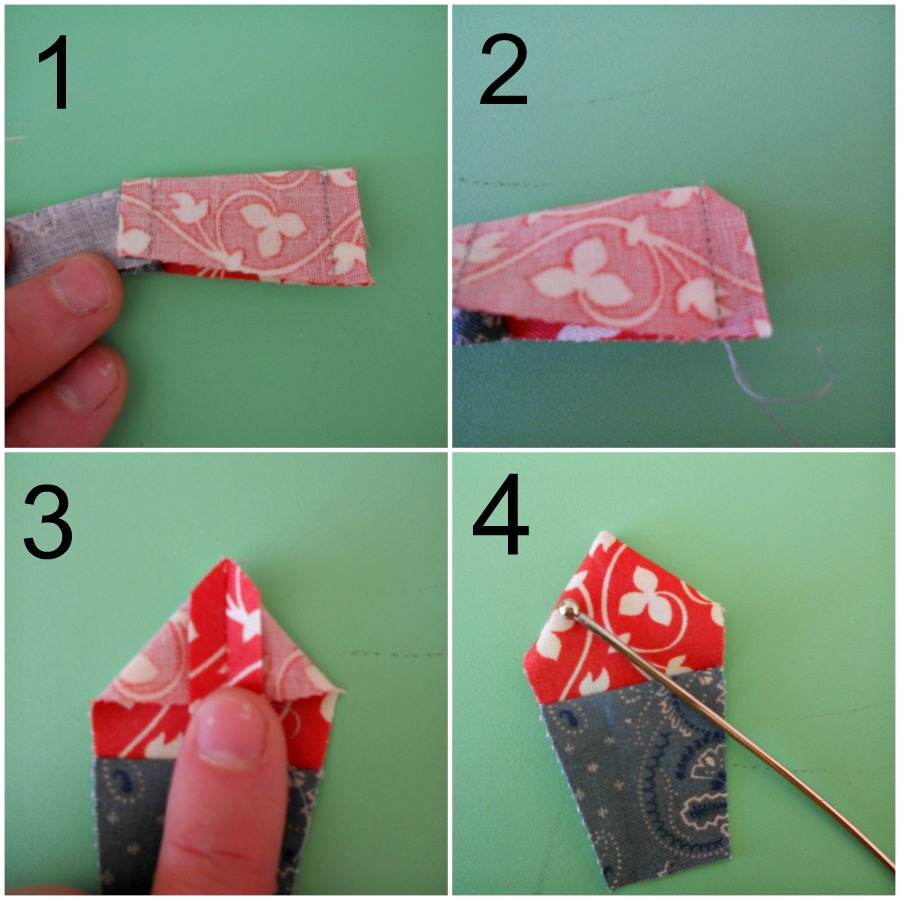
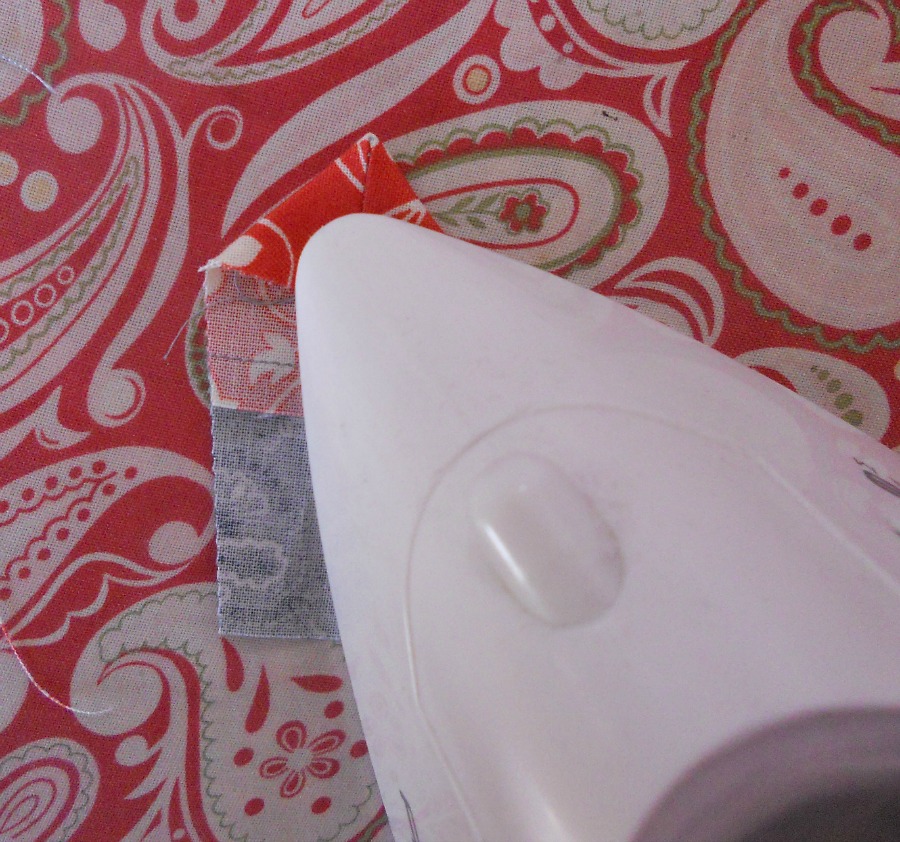
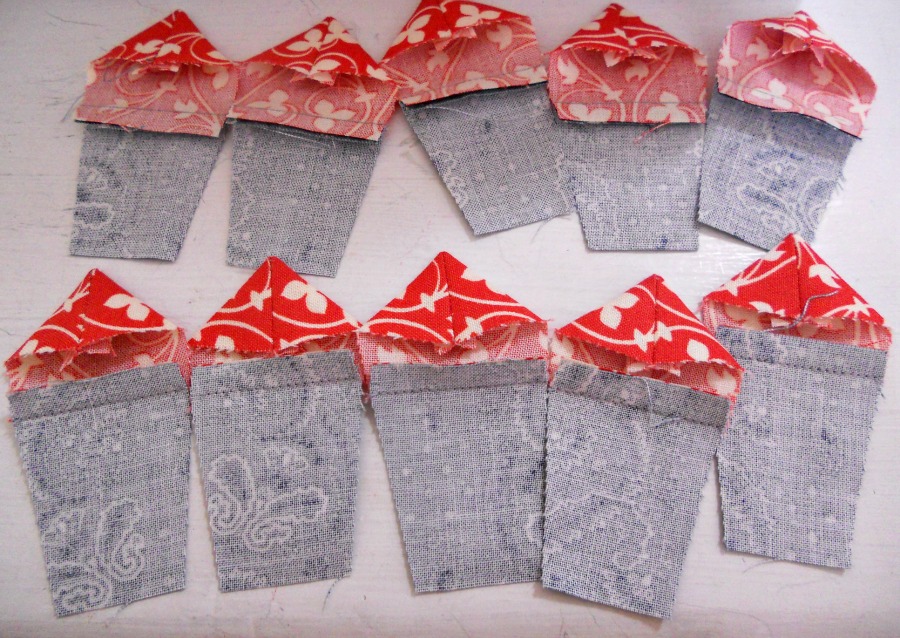
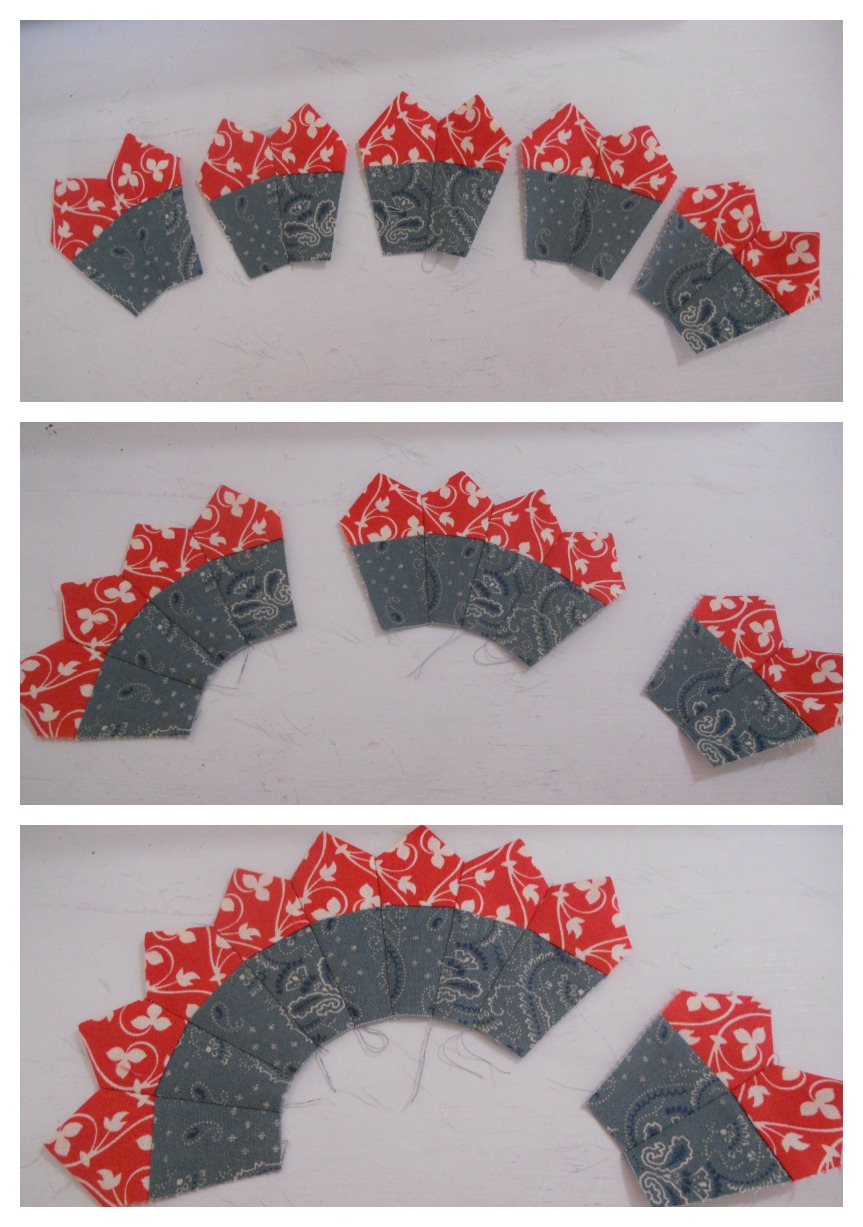
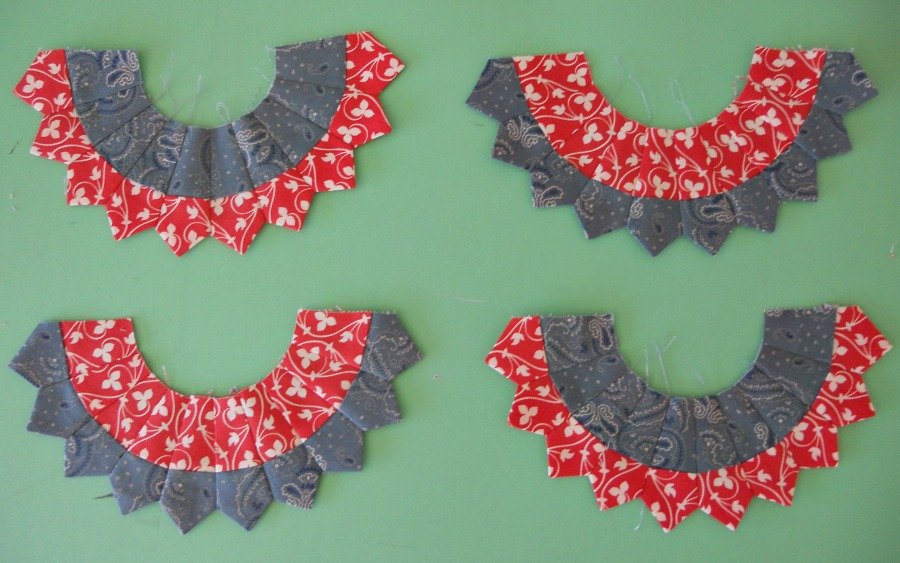
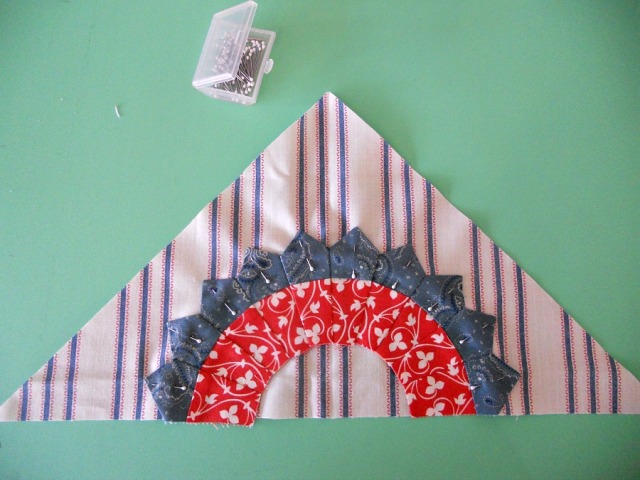
Once you have all the buntings sewn on to your setting triangles you will then make the center portion of the bunting.
1. Use this template: Parade Day Template and trace it on to the dull side of freezer paper. (Or if you are machine stitching you can use a fusible, like steam-a-seam)
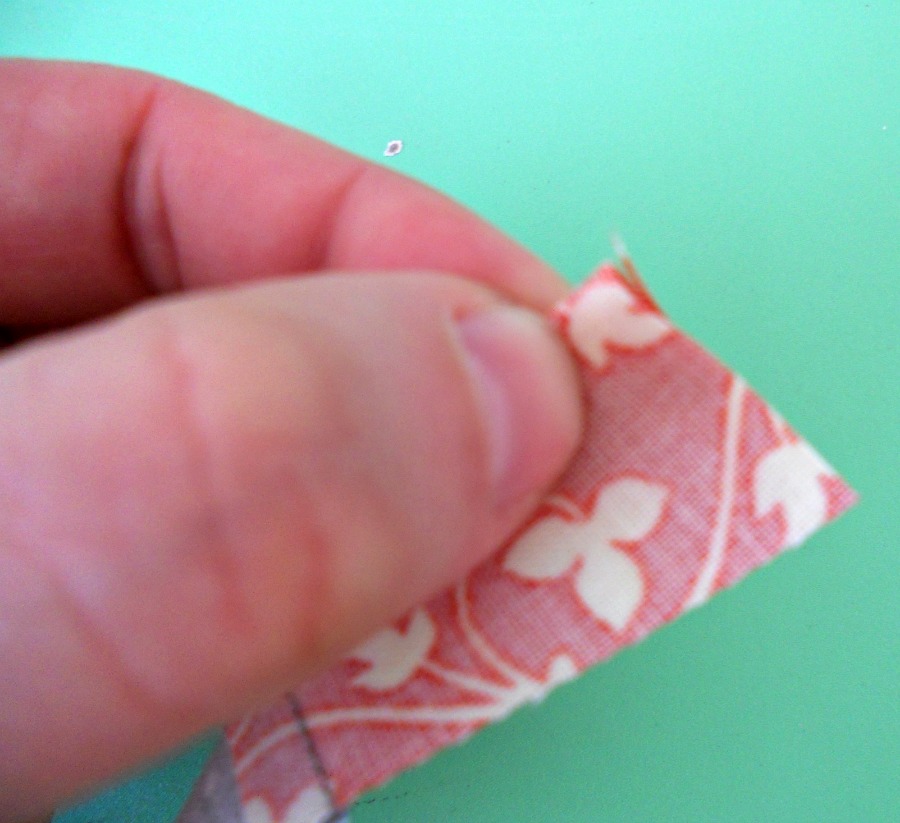
2. Press with shiny side down onto the BACK of your fabric, cut out leaving a 1/4 inch seam, and baste.
3. Finger press in half
4. Center on your bunting, pin, and applique.
***Edit: I forgot to add that you need to pull out the freezer paper and basting stitches!

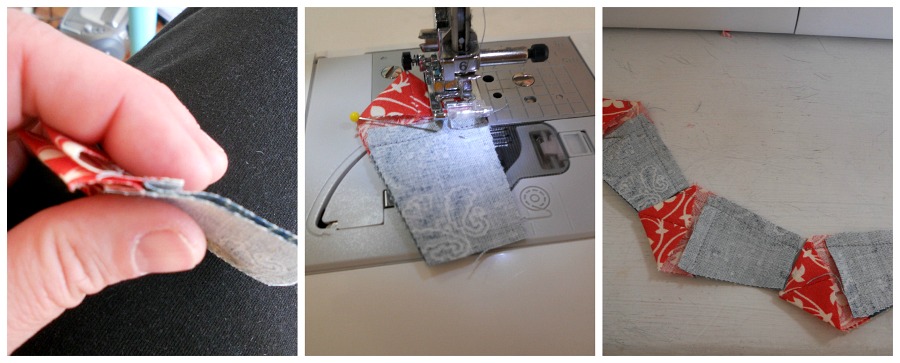
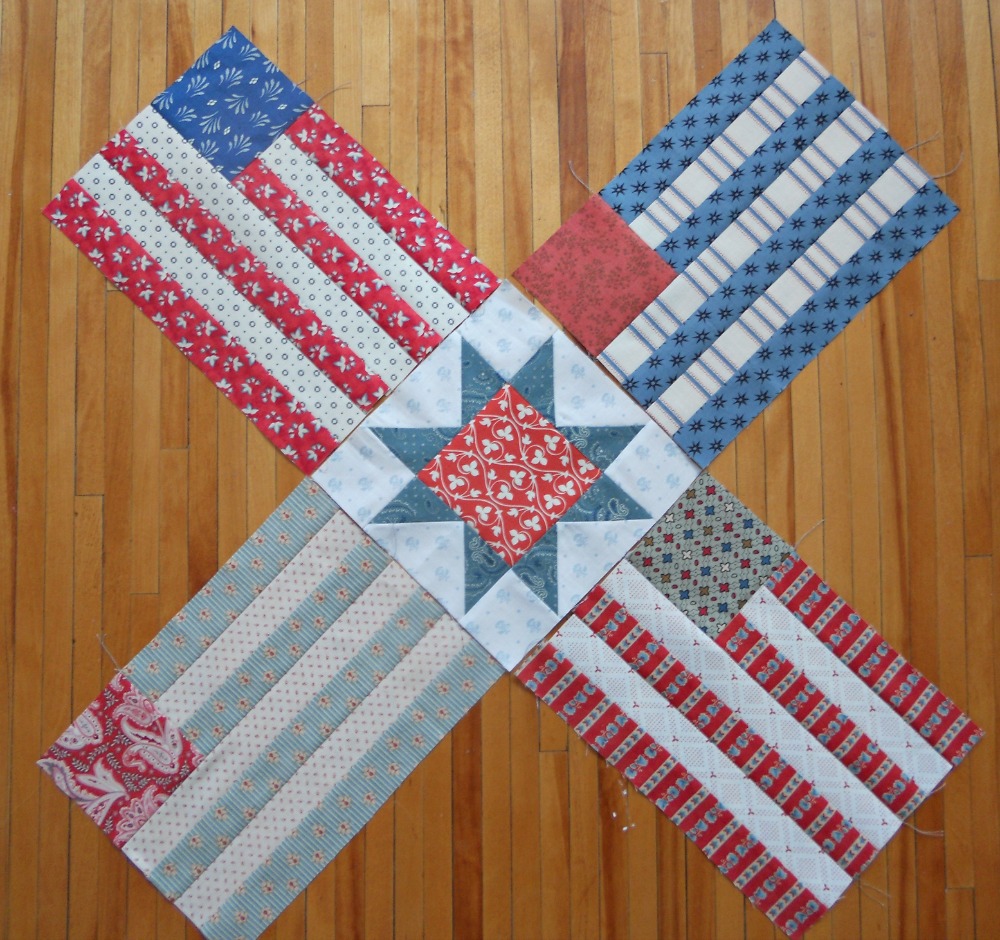
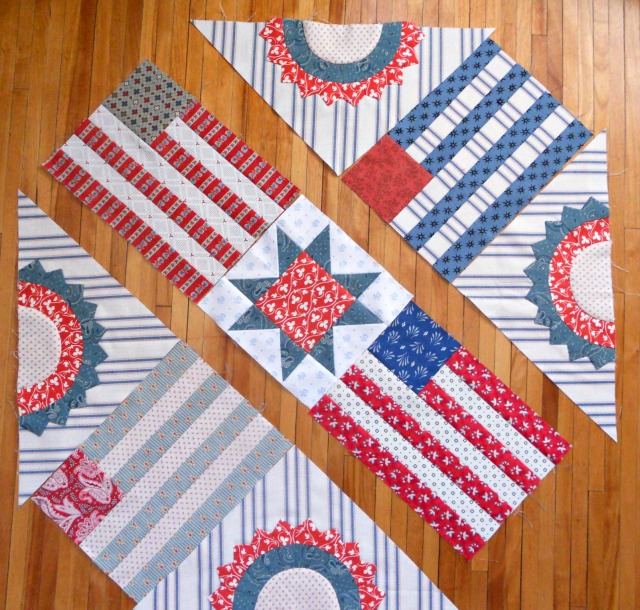
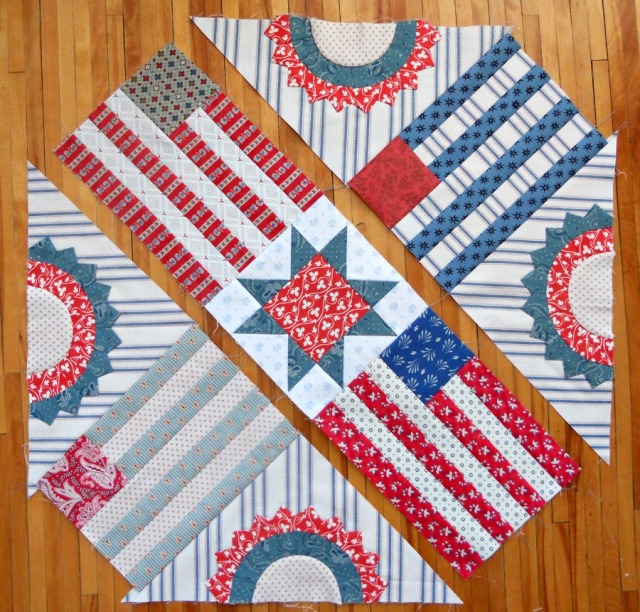
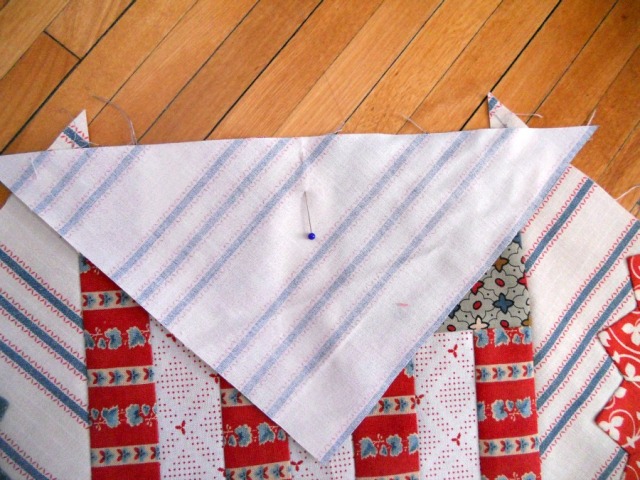
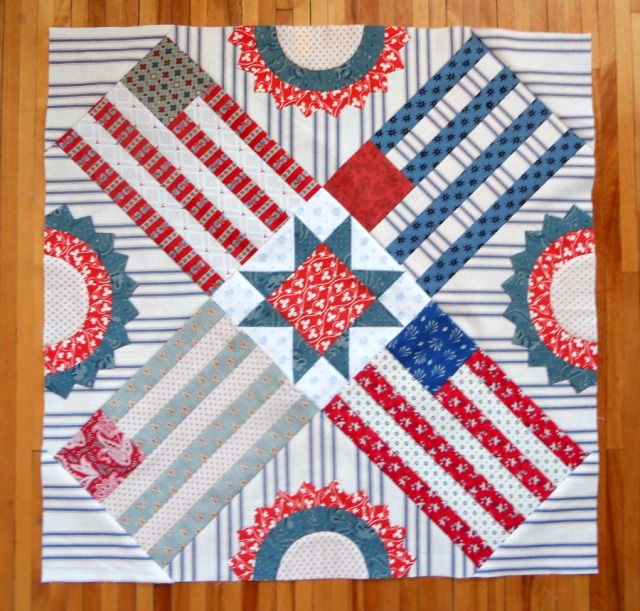
Now we can lay our quilt out into rows paying special attention to the direction your flags are facing.
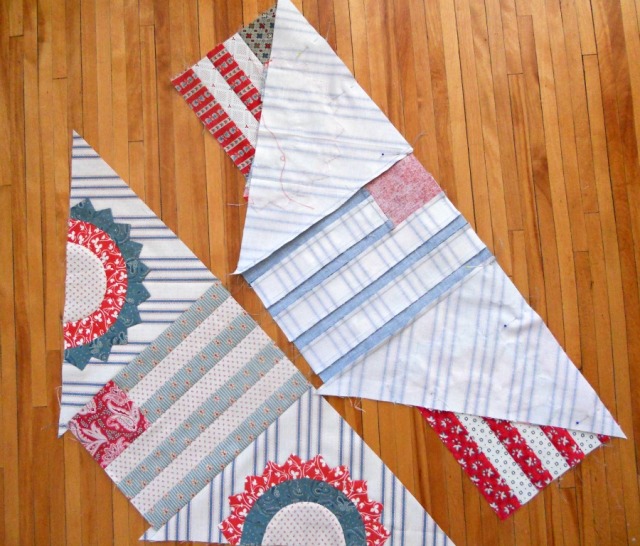
Sew into rows with a 1/4 inch seam. Press toward flag blocks. Here I am pinning my first seam, see where the over hang of the triangle block is:
Here are the rows all sewn up:
Now sew the rows together:
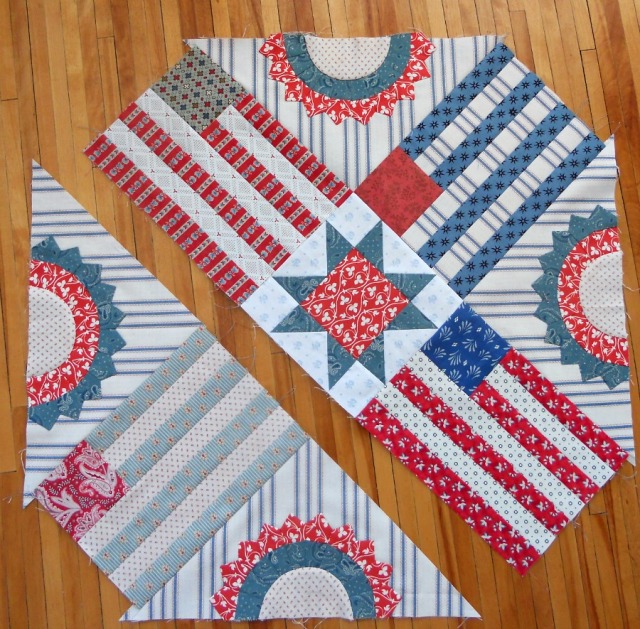
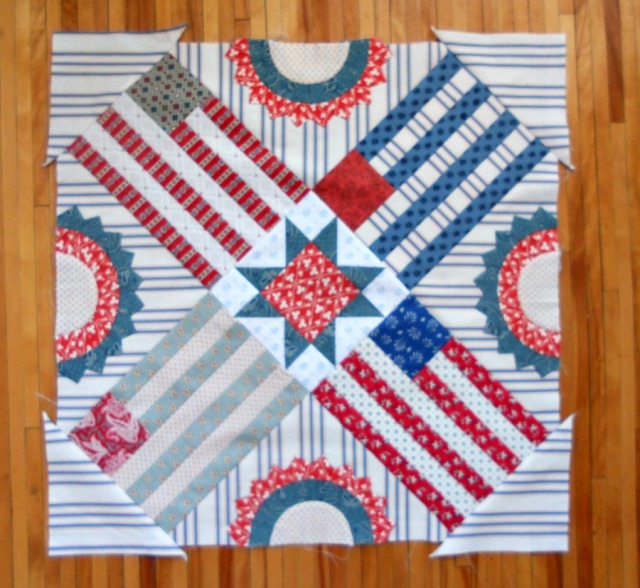
Once the rows are all sewn, it’s time to add the corner triangles,
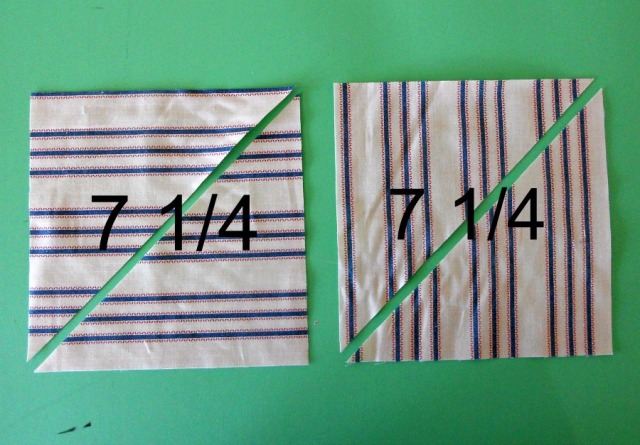
Cutting the corner triangles:
Cut 2 squares 7 1/4 inches cut once on the diagonal.
Finger press each corner triangle and center on the corner blocks. Pin and sew.
It looks a little wonky when you have it all sewn on, but we are going to trim the corners to square it.
Using your rotary cutting and a large square ruler ( I used a 12 1/2 inch square) Square your corners.
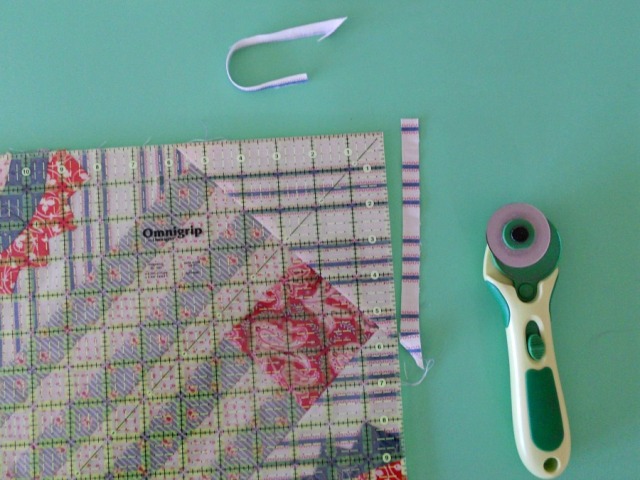
You should now have a 25 inch square quilt center! Whoop whoop!
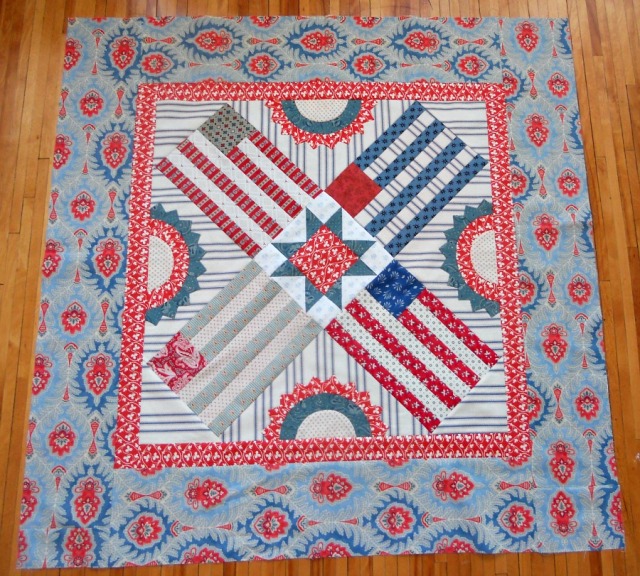
From here you can add any sized inner and outer borders you want, but we will discuss the sizes I choose next week!
Here is my finished quilt a long quilt:
See ya next week for borders!
Later Gators,
Melissa