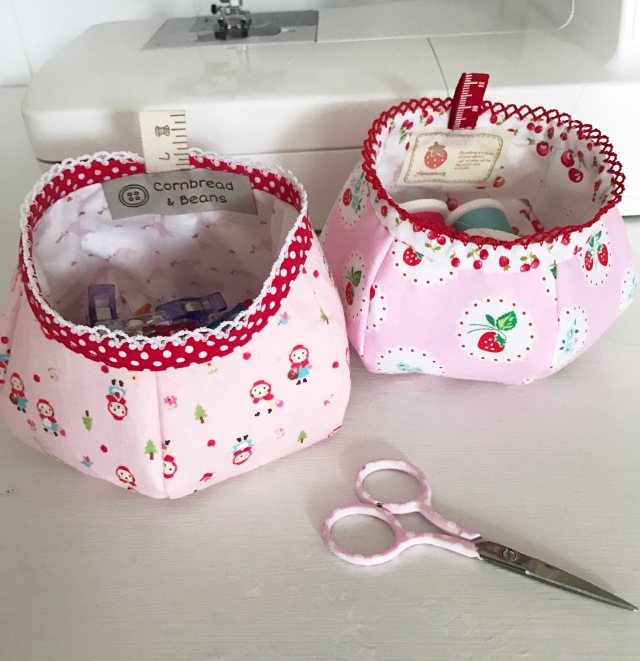
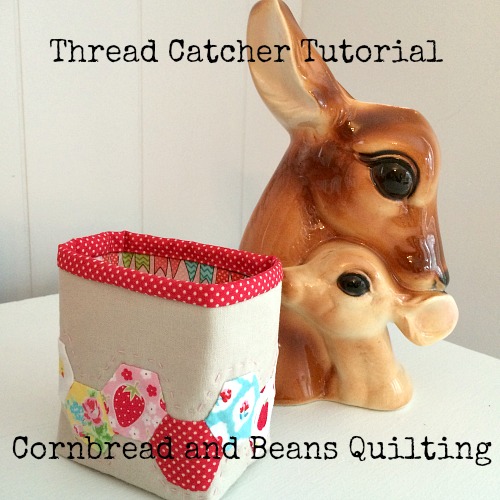
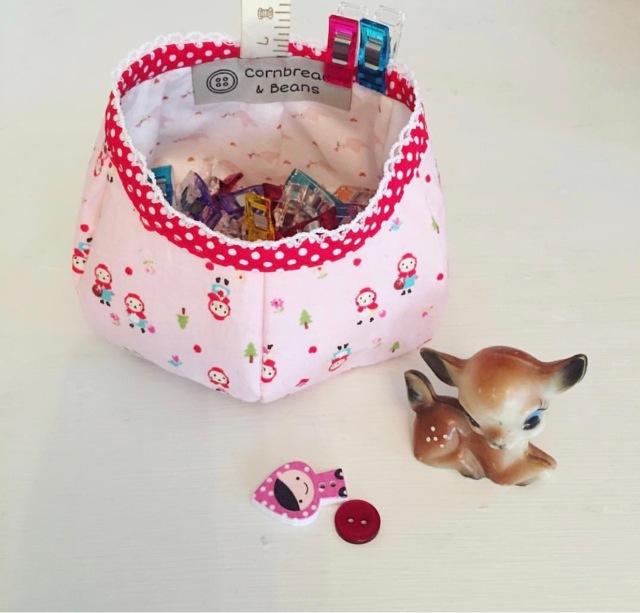
I seriously love binding clips and use them all the time. I didn’t love the plastic box they came in. The box opened awkwardly, and I was constantly spilling the clips all over the floor. I finally had it one day and decided to come up with a better container option.
This little container is way cuter, and the medium thick interfacing allows it to stand nice and stiff. The round shape helps it roll with the wild, hands flying, circus that sewing can sometimes be – without any spilling! Kind of like an adorable weeble-wobble (remember those?)
I’m sharing a very basic tutorial today, meaning you’re going to have to draw your pattern pieces, and use your creativity!
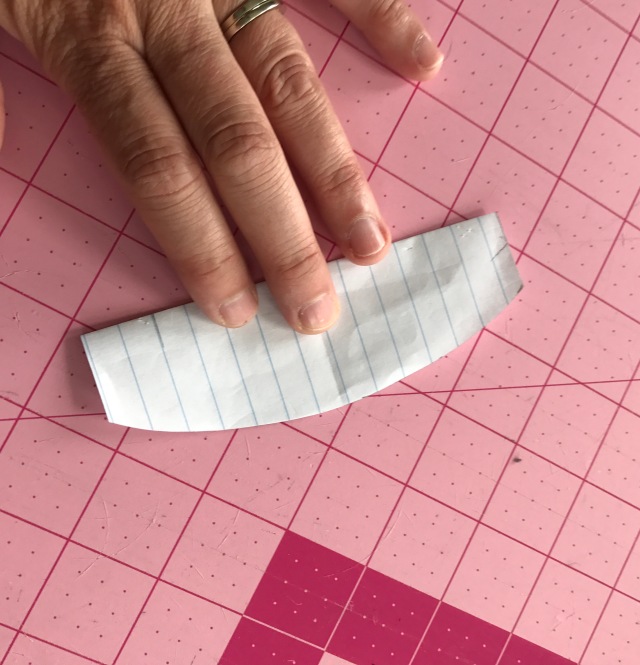
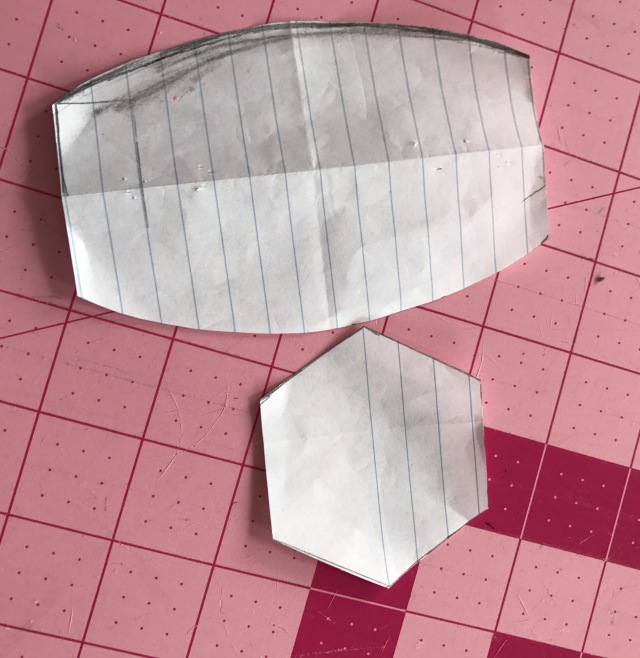
1. Make your pattern shapes.
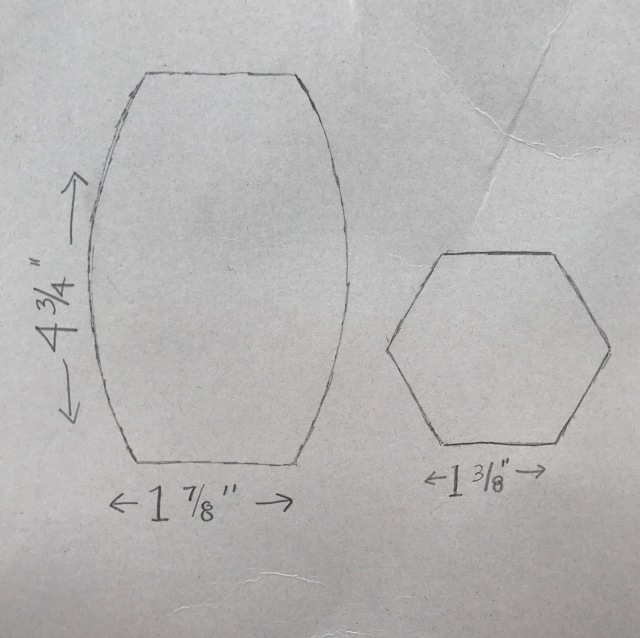
You’ll need a hexagon with sides measuring 1 3/8 “. And your side piece measuring 4 3/4″ tall, and ends measuring 1 7/8″ wide. To accomplish this side shape- cut a piece of scrap paper 5″ x 4 3/4″ – fold in half, open and draw 1 7/8″ lines in the center on the 4 3/4” ends then draw a curved line meeting at your lines. Fold in half and cut out your shape.
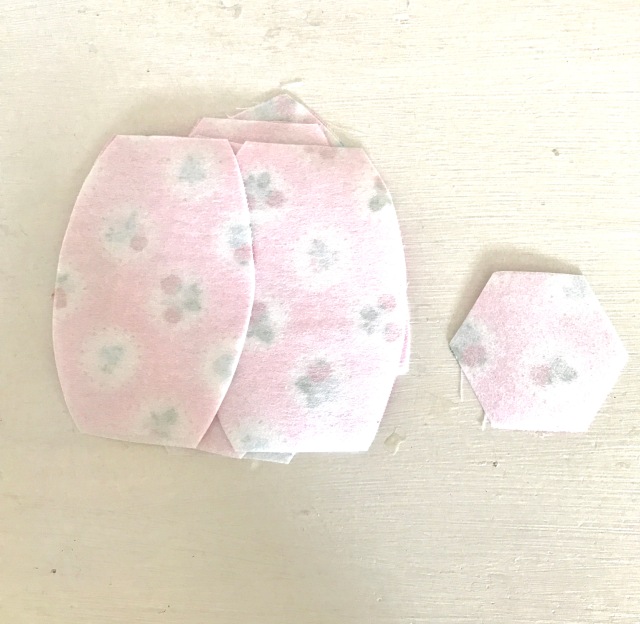
2. Cut your fabrics.

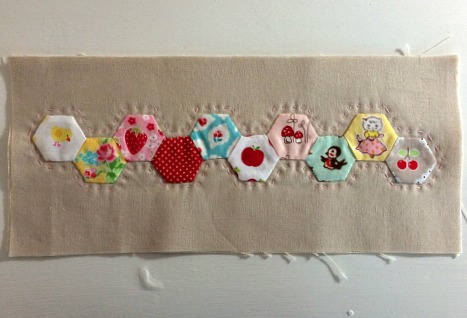
You’ll need 6 outer fabric pieces, 6 lining fabric pieces, and 6 fusible interfacing (medium thickness) pieces. 1 each of outer, lining, and interfacing of the hexagon shape.
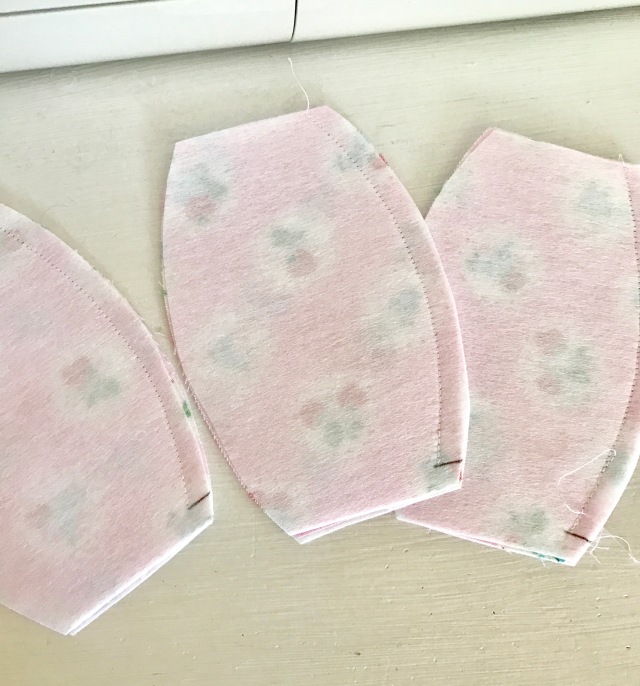
3. Iron your fusible interfacing to the outer fabric pieces.
4. Sewing pieces together.
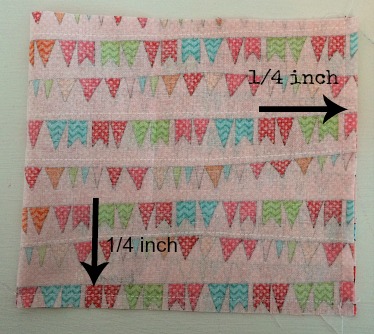
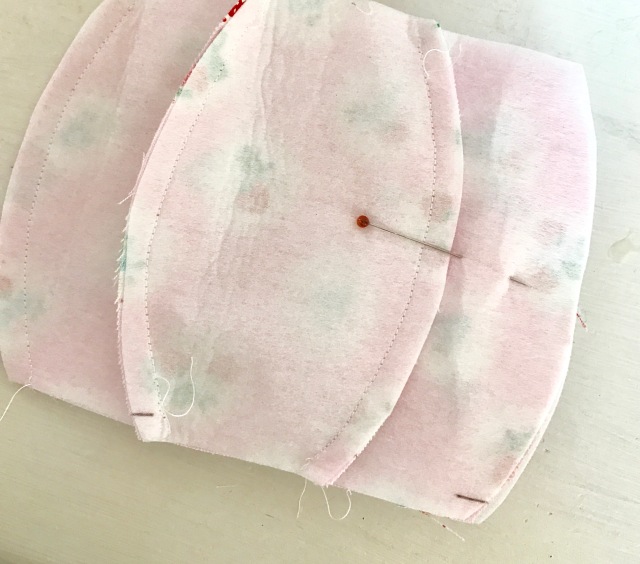
We need to leave the ends of the side panels unsewn 1/4″ on one end to give us a seam allowance to sew in the hexagon piece to make a bottom. If using directional fabric make sure to leave the bottom open 1/4″.
Mark the 1/4″ seam allowances 1/4″ from the bottom with an erasable marker (I used frixon heat erasable marker.) Then begin to sew panels together, stopping and back stitching at your marks.
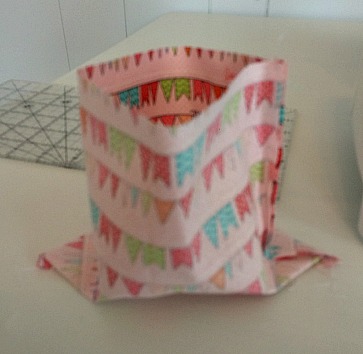
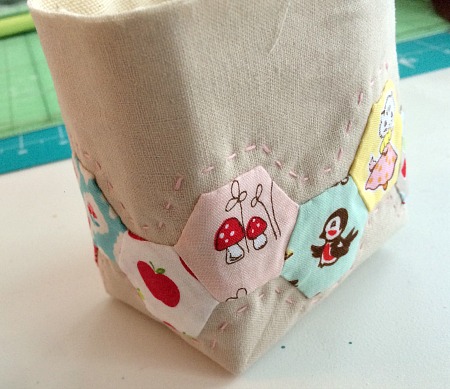
Continue sewing panels until they are all joined, and you have a ball shape.
Repeat with the lining pieces.
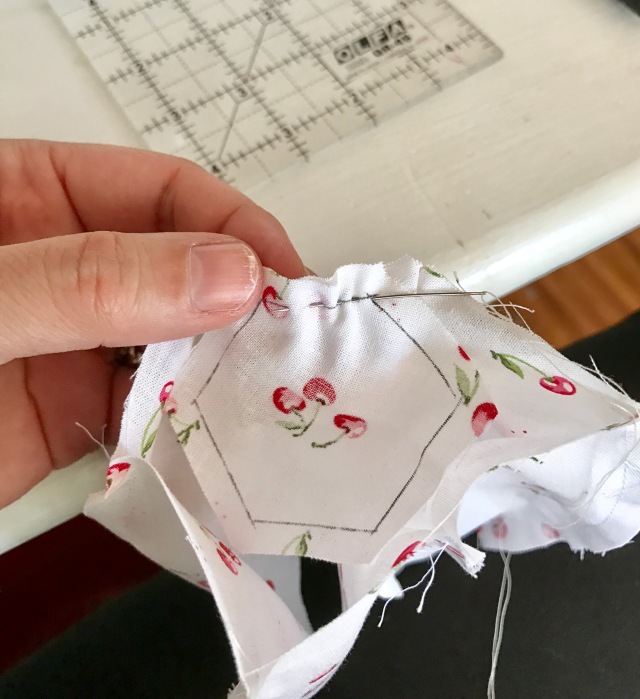
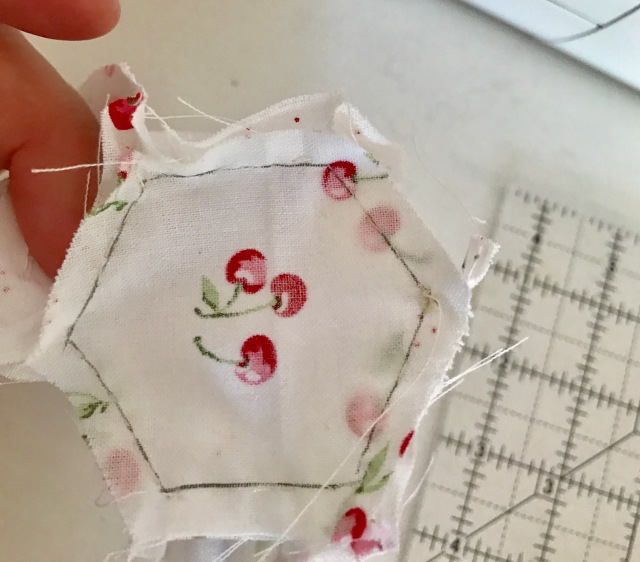
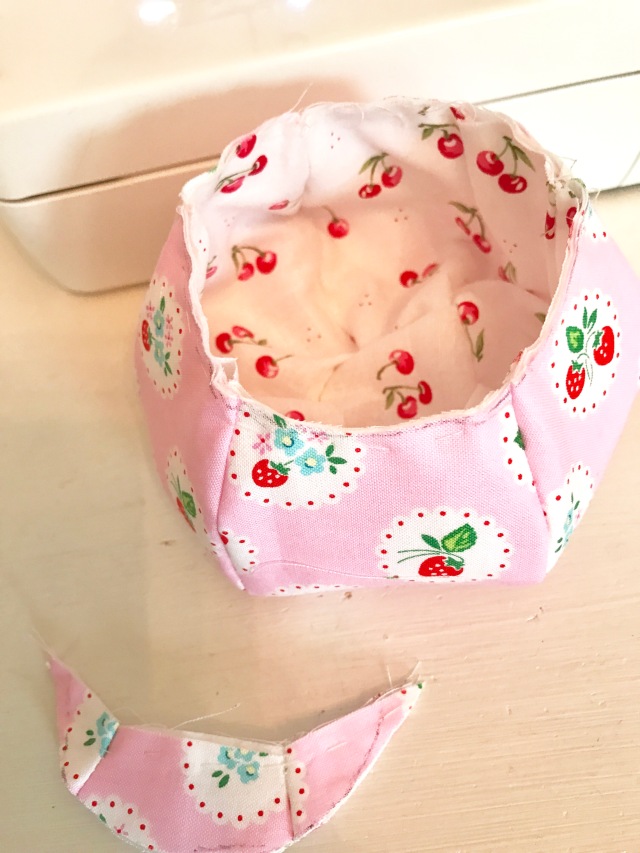
5. Adding the hexagon bottom.
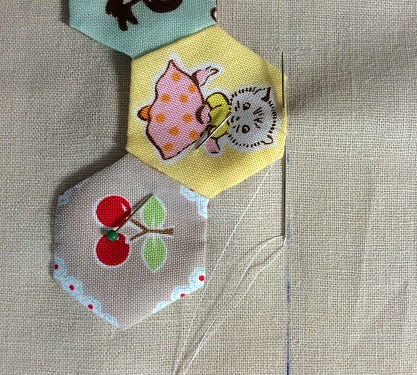
There are two ways to go about attaching your hexagon to the bottom. 1. If you’re an awesome seamstress you can pin and sew with your machine using 1/4″ seam. I tried this and it was hard for me! 2. This method worked best for me – draw your quarter inch seam lines all around your hexagon, pin in place, and hand sew on the line.
6. Finishing
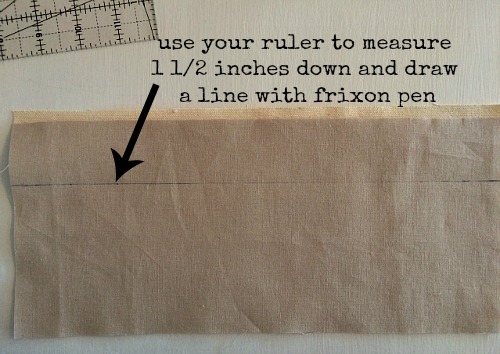
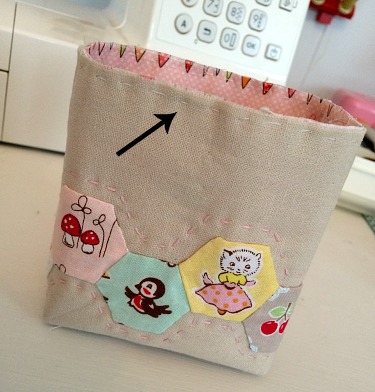
Place the lining inside the outer bag, wrong sides together. Hand baste around the top, using a 1/8″ seam, stop when you have basted three panels, but don’t cut the thread.
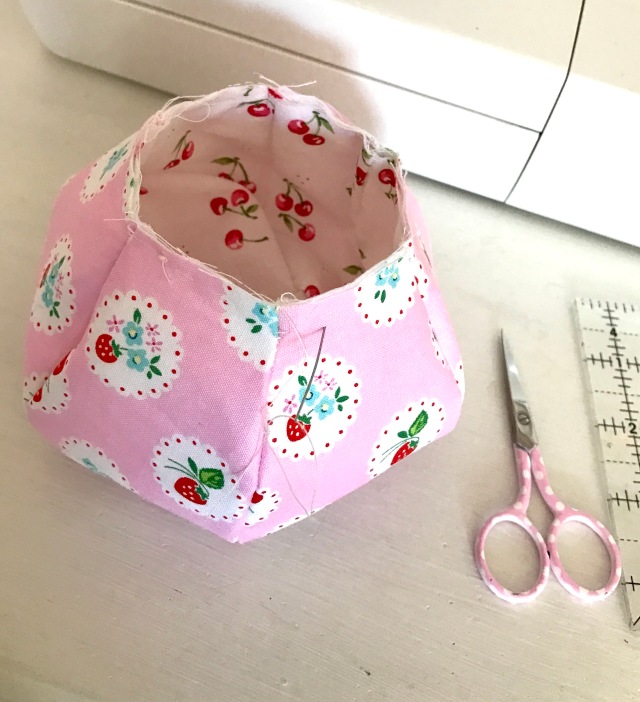
You are going to draw a half moon shape using an erasable marker. I just eyed this until I liked how it looked. Then cut away the fabric on the line, and continue basting the rest of the way around.
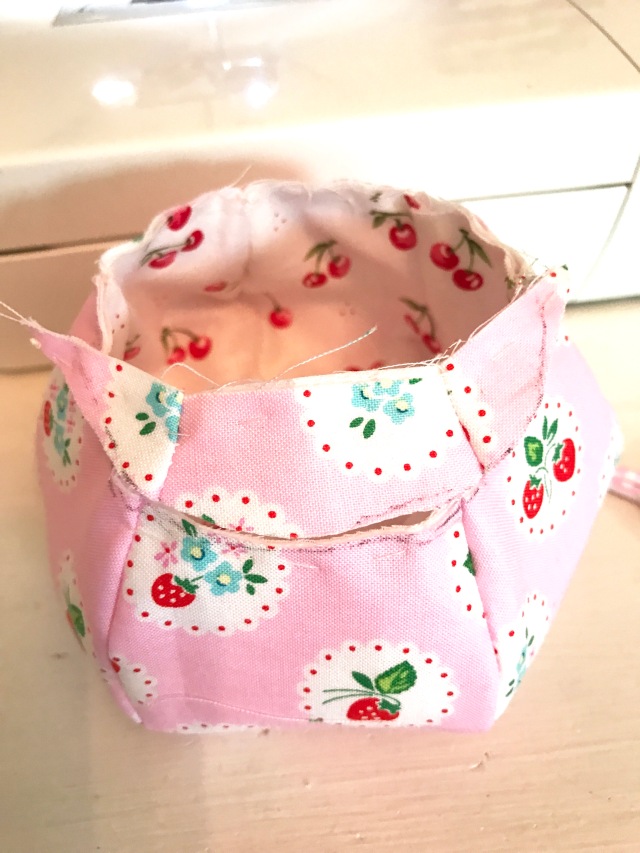
Add your binding, and any embellishments you like, fill with cute things, and enjoy!